
There is now a component available in OU Campus that allows users to add or edit a quarter-page banner photo to the tops of their webpages.
Open the page Properties panel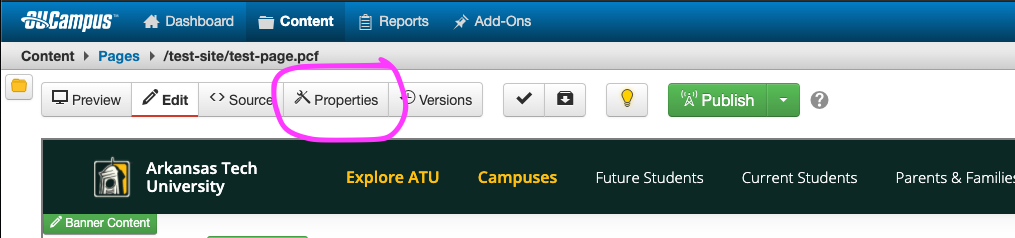
Edit the page banner settings in the "Custom Settings" section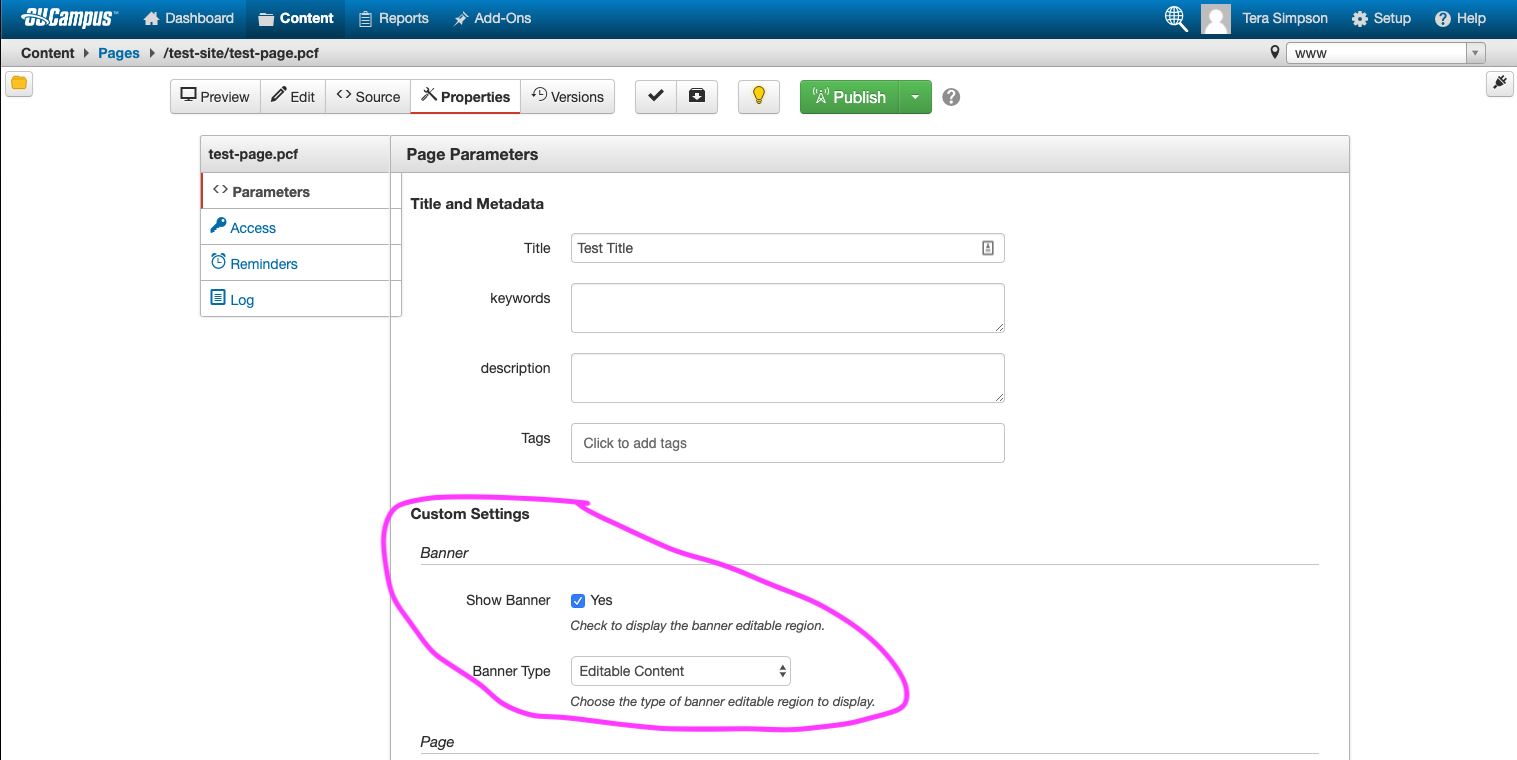
Make sure that Show Banner is checked "Yes" and the Banner Type is set to "Editable Content" as shown in the example. If it is not, edit the settings to match the shown configuration above.
Click Save at the bottom of the panel to return to the page preview.
You will now notice that in the preview, the entire page has shifted up, with the page title hidden behind the global header - this is normal and due to the empty "Editable Content" banner region. This will be fixed when you insert the banner component in the following steps.
Click on the Edit panel to open the page editor
Click on the green "Banner Content" button in the top left corner of the page editor
The cursor will automatically be placed in the editable region when you open the Banner Content section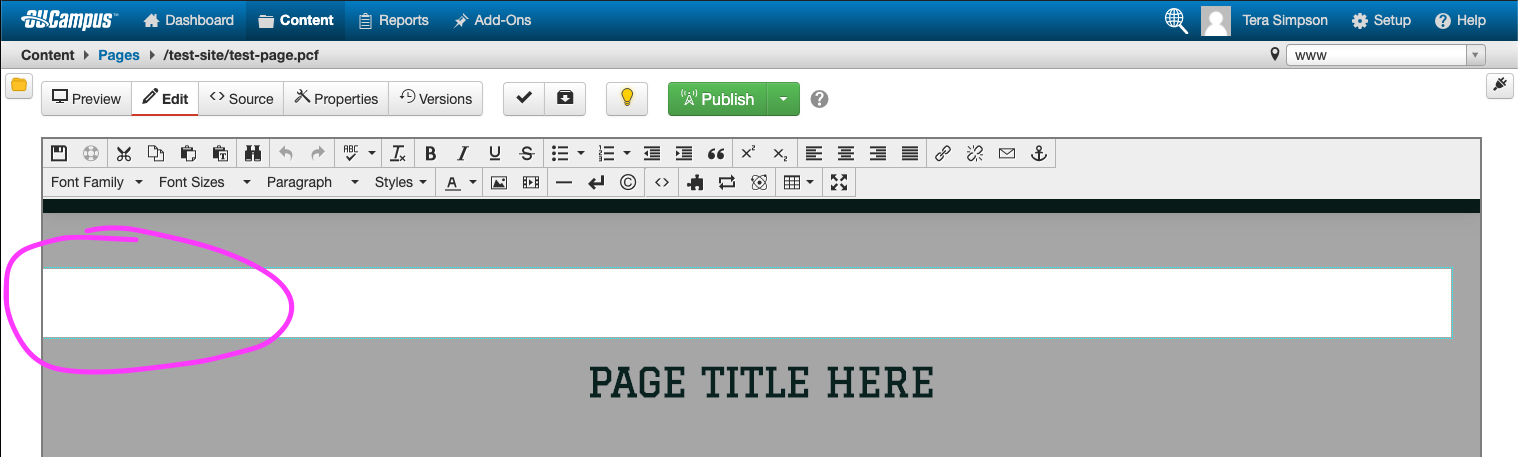
Click on "Insert Component" in the editor toolbar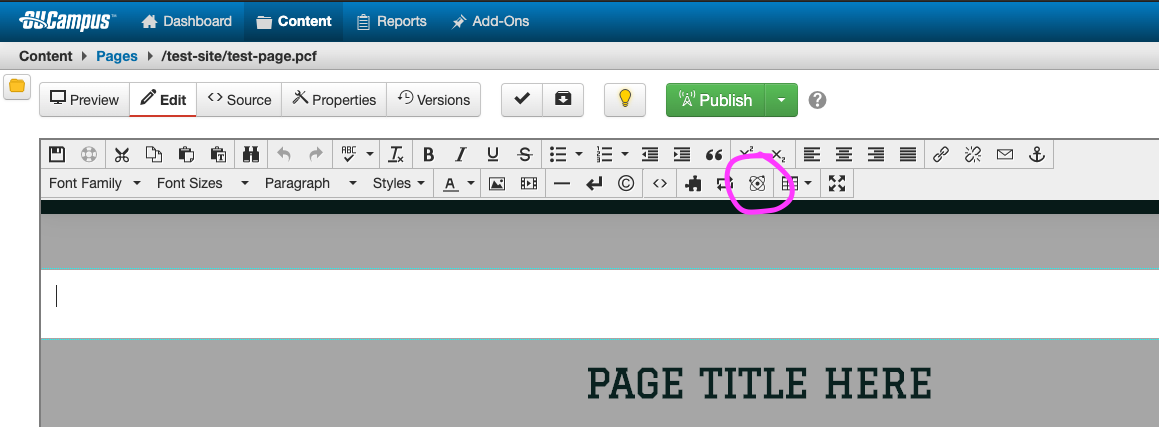
Select "Simple Header No Text" or "Simple Header with Text"- Simple Header No Text will insert an unstyled image of your choosing, without the option to add text in the middle of the photo
- Simple Header with Text will insert an image of your choosing, add a dark overlay, and give you the option to add text in the middle of the photo. The text will be white and styled in the page heading font. The dark overlay and white text are configured to provide enough visual contrast to be compliant with WCAG accessibility guidelines.
- Both components will crop the images from the top and bottom to achieve the quarter-page photo length. For best results - choose photos where the subject is positioned in the vertical center of the photo.
Fill out the component form with the information you wish to see. When choosing an image, you will need to navigate to your site's images folder.- In the image dialog box, navigate to your folder, open your site folder, then open your images folder. Select the image you wish to use as a header image.
Click "OK" when you are ready to preview your header component.
Some components are not visible in the Editing panel. Save your page after inserting the component to view what the header will look like on the live site.
Follow the steps in this process until you are satisfied with your header.
Save and publish the webpage.
Notes:
If you would like to add new photos to your site to use as header photos, refer to How to add a photo to your website.